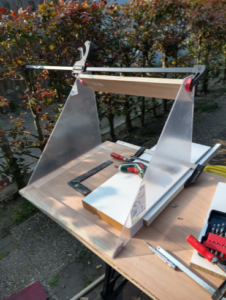
For Maker Faire I created a Lichtenberg machine.
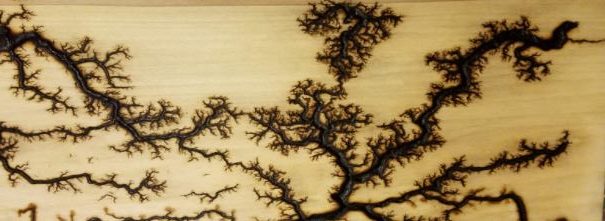
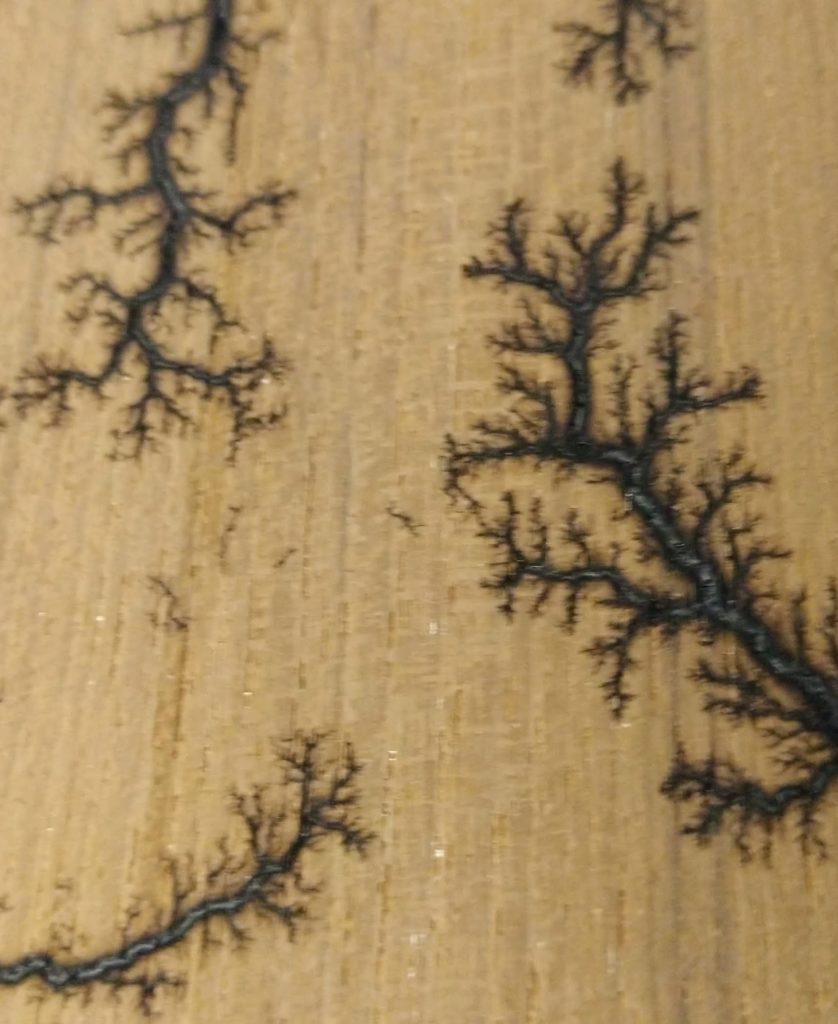
It shows the public in a safe way how Lichtenberg-figures are created by burning them in wood.
Georg Lichtenberg discovered these Dendritic figures while experimenting with a electrophorus in 1777. So to honor him, I named my machine after him.
Fun fact: Georg Lichtenberg was one of the first professors that would do live experiments in the class room. One of his well known quotes was:
It’s always better with a Bang
When people interact with the machine they will have to prepare the plywood strip with a solution of baking soda and water. Then the strip is put into the machine by the operator. The visitor can actuate the foot switch and the burning starts. The operator removes the wood strip and the visitor can remove the charcoal from the burned vanes with water. The burned wood strip can be taken home if wanted.

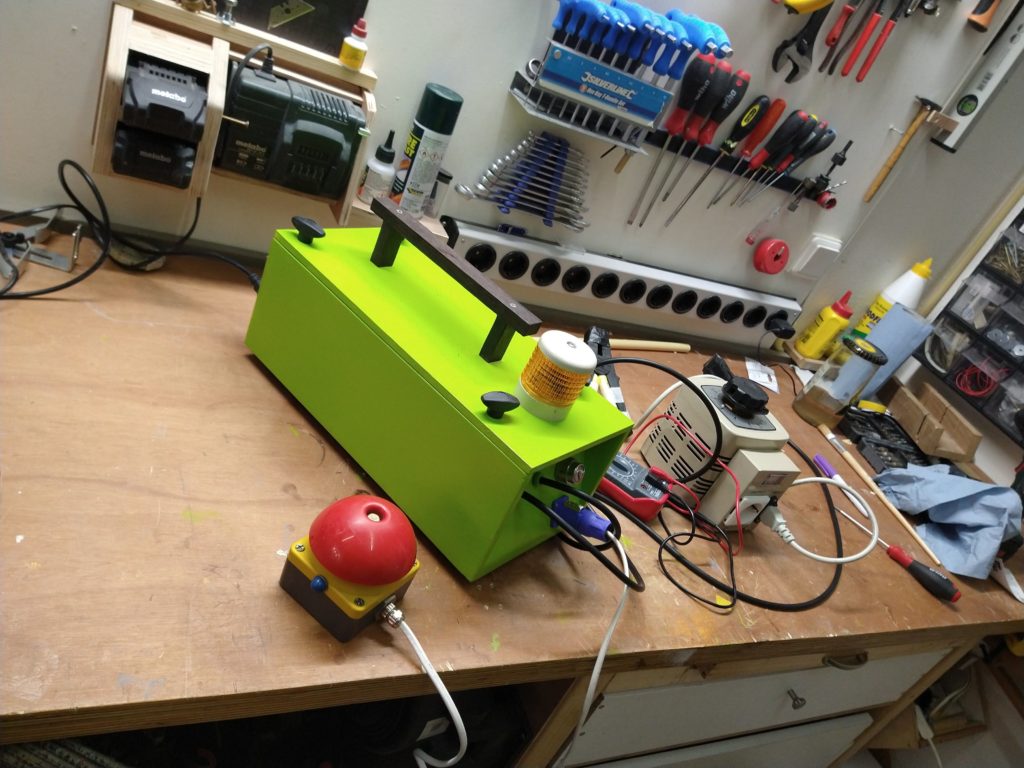
 I use a 5000V Neon sign transformer and several safety mechanisms like a key operated master switch, an interlock in the the plexiglass cover and a footswitch.
![]() I also included an air extraction fan to remove the (not so nice) fumes from the burned plywood.
I also included an air extraction fan to remove the (not so nice) fumes from the burned plywood.
Here you see a couple of picture from “the making of”.
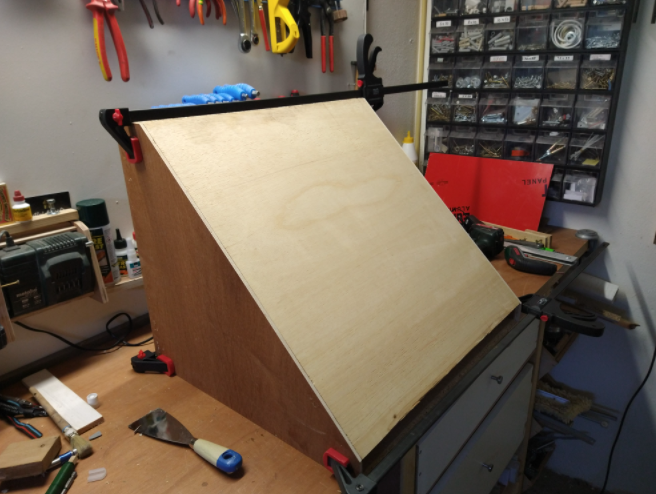
building the case
Plexiglas work in progress
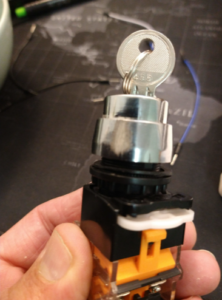
electric key lock for safety
Eerste setup met Neon transformer
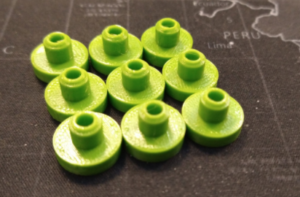
3D printed parts
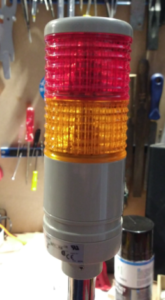
operator light
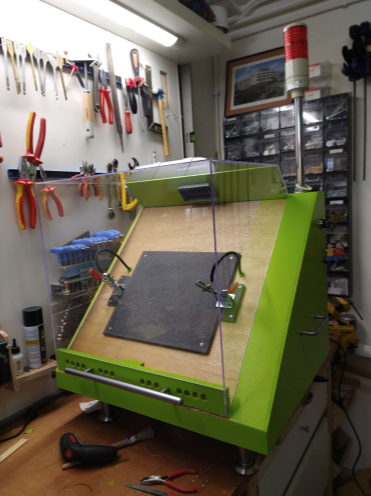
first time all together
In total it took about 40 hours (I guess), spread over 30 days.
I spend about 100 euro on it (not including all the stuff I already had laying around).
Just before the Maker Faire started, I decided to shell-out some extra money to have a proper 10 meter long exhaust tube (instead of the narrow tube I tried to use before….)
I really enjoyed the build process and all the small (but sometimes significant) design decisions and tweaks I had to make.
My main goal was to make a Lichtenberg machine that can be used for public display.
There were 2 main design rules:
1) Safety
I’ve seen many YouTube movies showing Lichtenberg contraptions.All are very dangerous (like instant death) and completely useless for public viewing.
2) Visibility
I made the machine so everybody could see what is happening (angled plane).
This also ensures people can comply to any Corona rules and still see the process.
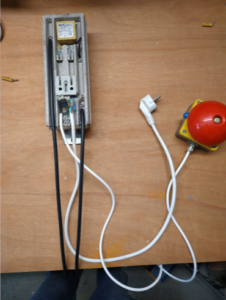
In my job I’m used to think about machine design safety so the basic electrical principle was easy to make. All switches are serial connected with 230V (so no relays). There are 2 additional indicators to show voltage is applied to the High voltage transformer;
a warning light and a colorful LED strip. The wooden enclosure was easy to make. At the back the service door has a key lock.
The hardest part of the build was getting the plexiglass right, because it is very important in the design that the view is not obstructed by anything.
As I had no experience with gluing plexiglass, I ended up with some “less perfect” seams. But in general it achieved its function.
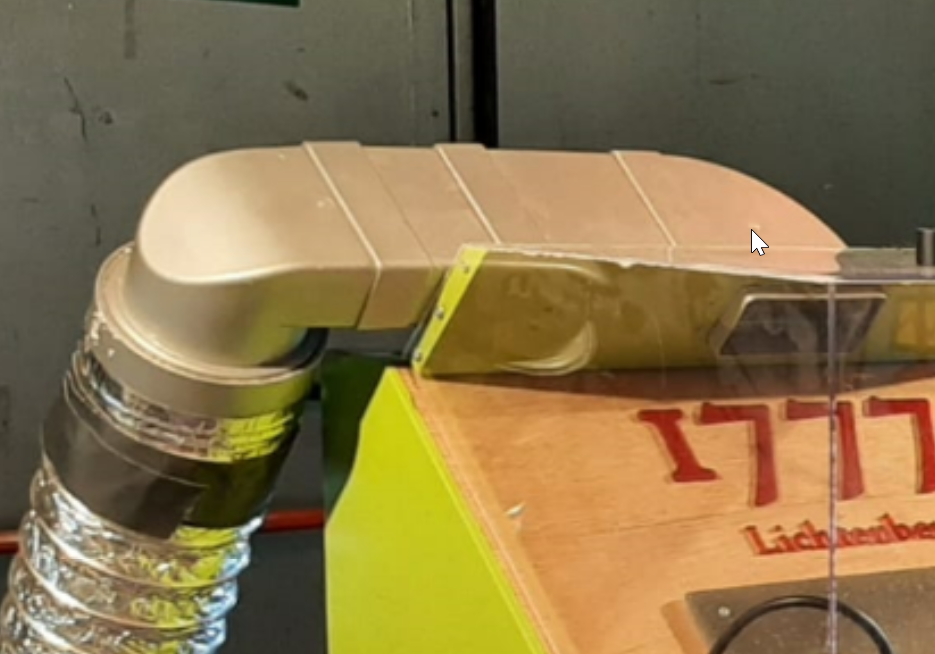
the air extraction unit is complex
Another challenge was the efficiency of the old bathroom tube fan I used.
Would it be able to remove the smoke from the machine and push it into a 10 meter long exhaust line? I tweaked its capacity by decreasing the gap between the blades and the casing. In the end I had to invest in a bigger size 10 meter long tube the minimize pressure build up.
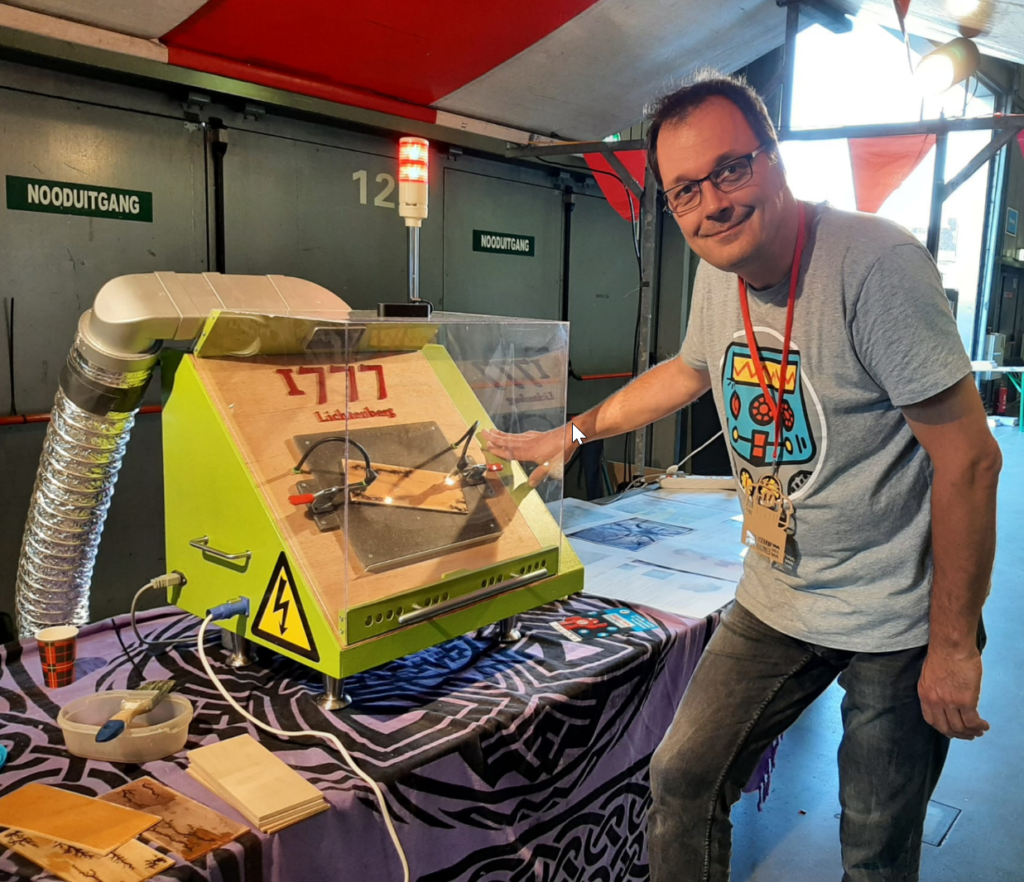 The machine was first used at Eindhoven Maker Faire.
During the 2 days I had no glitches or any other abnormality.
The machine turned out to be very reliable and safe.
And finally, the most important thing of all: it was A LOT OF FUN to show children and adults the wonders of high voltage wood burning 🙂
After making the first machine, I had an additional transformer (7000 volts) and I used that to build a “hand held device”. The portable burner with a possibility to regulate the Voltage with a VARIAC.
With this machine I’m more flexible to burn on different surfaces and also big or even small dimensions.
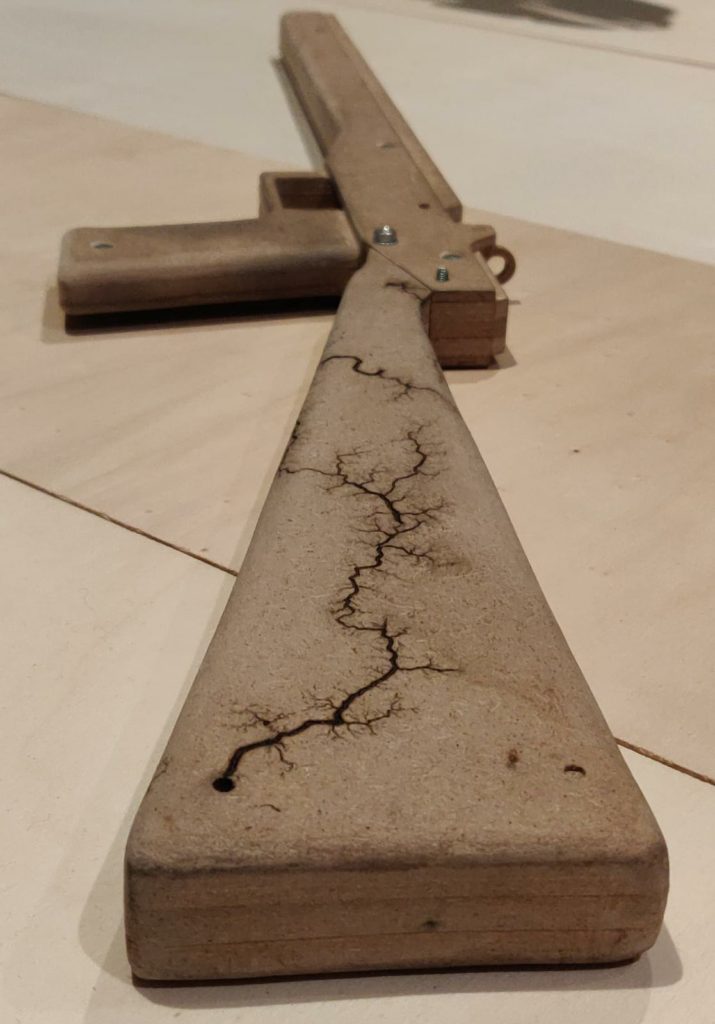
example of other surfaces